1.3.1 Introduction
In the previous lesson we have seen some of the basic commands which enables us to draw the object. Now we will try to modify the objects with most advanced commands. In previous chapter you have learned about drawing the circle and rectangle now we will focus on editing those. We will try to trim a line and to extend it. Even we will also try to erase, placing the objects and making the multiple copies of it. And at last we will try to move the object from it's original location.
1.3.2 Modify Commands
The section you can find at the HOME tab. There is a separate panel of the modification commands. There are number of modification commands describe in detail below :
| Icon |
Function |
Command |
Location |
Result |
|
Trim |
TRIM
|
Home > Modify > Trim |
Trim the object to match the edge of another object. |
|
Extend |
Extend
|
Home > Modify > Extend |
Extend the object to meet the edges of another object. |
|
Offset |
O / Offset
|
Home > Modify > Offset |
To draw Parallel line at particular distance. |
|
|
Copy |
_copy
|
Home > Modify > Copy |
To create multiple copies from a single object. |
|
Mirror |
_mirror
|
Home > Modify > Mirror |
Creates mirror copy of the selected object. |
|
Erase |
_erase
|
Home > Modify > Erase |
To remove the object. |
|
Move |
M / _move
|
Home > Modify > Move |
To move the selected object to new co-ordinates. |
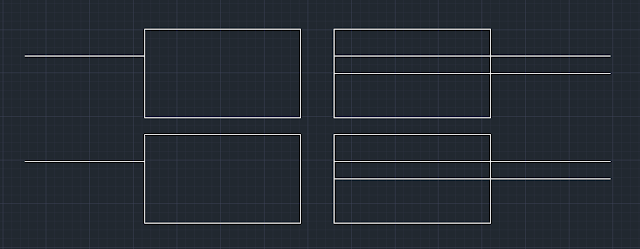
As like the previous chapter we will also do some of the practical work for easy understanding of the each command. we try to create the following work (need not be done as per dimension.):
 |
| Figure 1.3.1 : Modification Commands Assignment |
The procedure of doing the drawing is :
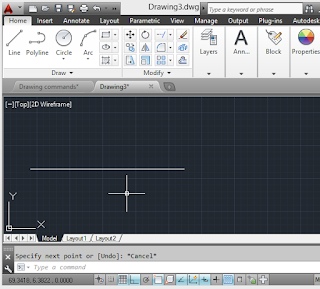
- First draw a line segment of any length you suppose.
 |
| Figure 1.3.2 : Draw a line |
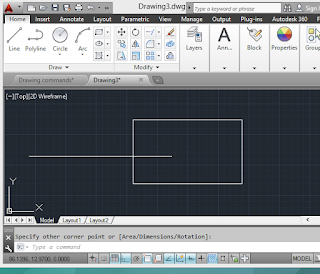
- Now create a rectangle of any size but it must be over the line.
 |
| Figure 1.3.3 : Draw a rectangle over a line. |
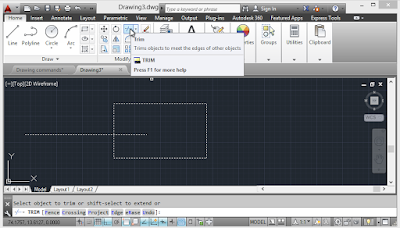
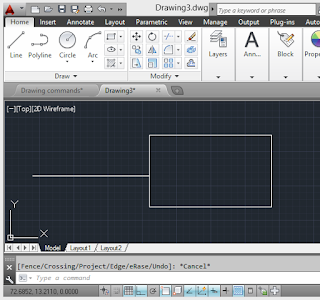
- Now we have to remove the line inside the rectangle so we will use the trim command. For that first select the whole drawing and click on the trim icon or use TRIM command in the command box.
 |
| Figure 1.3.4 Applying Trim |
- Now click on the line inside the rectangle and you will see it is disappeared.
 |
| Figure 1.3.5 After using Trim |
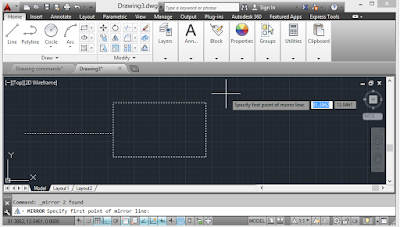
- Now we have used trim to remove the excess line now we want to mirror the whole drawing for that again select the whole drawing and click on the mirror icon.
 |
| Figure 1.3.6 Selecting whole drawing for mirror |
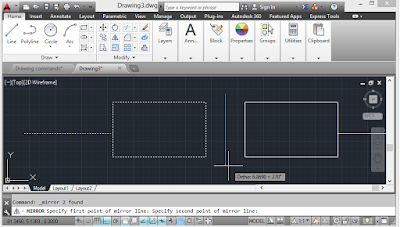
- Mirror command is not applied yet. For applying the mirror command draw a invisible line by clicking at right keeping some space. And when you feel comfortable with it press ENTER .
 |
| Figure 1.3.7 Creating invisible line while using Mirror. |
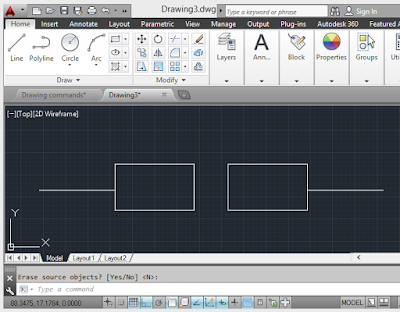
- Now you have created a object with mirror and your work is looking somewhat like in the image below.
 |
| Figure 1.3.8 : object formed after mirror |
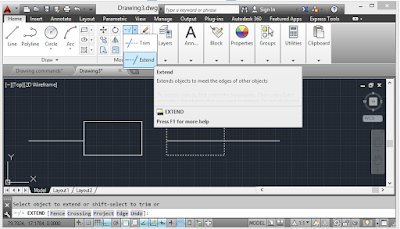
- The next command we are going to use is extend it is almost same as trim. Again select the whole mirrored side object and click on the extend icon. After that click on the line which we want to extend. And with ease it will be extended upto the next line perpendicular to it.
 |
| Figure 1.3.9 : Using Extend Command |
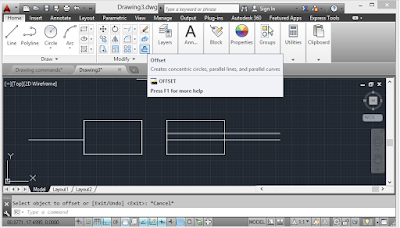
- Now, we have used the Extend command the next command we are going to use is OFFSET command. For that select the line segment and asususal click on the offset icon. The next thing we need to provide is the distance between the line which we are going to form. Put the value with respective size not too big and not too small. and once you place all that you need to select the side on which you want the parallel offset to be made. to click on the top most side of the line. and your work will look like the one given in the image below.
 |
| 1.3.10 : Object formed using offset command. |
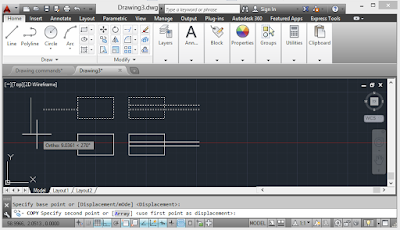
- Now our object is almost formed and just one step away. The next command we are going to use is COPY . With the help of these command we will create copy of the same object just below it. For that select your whole work and click on the copy button or directly use the COPY command in the command box. Now in the workspace click at any point and move your mouse towards downside. You will see the same invisible line as in the case of the mirror. Move the mouse down until it comes down from the previous object.
 |
| 1.3.11 : Creating object using COPY |
- Now you have created the object successfully. You have used almost every modification command in this. Try using all of the drawing and modification commands yourself to create a new and ridiculous objects. The more you practice the more perfect you become with it.
AWESOME TIP:
When you are using TRIM command you can directly switch to extend by just pressing the SHIFT button. Instead of again selecting the whole object. [Reversal for Extend]

Abhishek Bagul
Author & Editor
I am a Civil Engineer who also wish to change the world! I am the founder of ThemeDaddy and ESTIMATOR Softwares.
